_edited_edited.png)

What is Data Cleaning?
Data cleaning is the process of identifying and removing data which is erroneous, has duplicate values, missing values, and is irrelevant to the analysis. The goal behind data cleaning is to have data which is accurate, consistent, complete to ensure sound decision making, avoid costly mistakes arising from messy data and to increase the validity of analytical results. Moreover, clean data facilitates the interpretability of findings, leading to formulation of actionable insights.
Importance of Data Cleaning
To derive accurate insights, our dataset needs to be accurate. Having clean data increases productivity and enables making informed decisions. If the dataset is not cleaned, it will interfere with the analysis and lead to distorted results.
Benefits of Data Cleaning
Increased Accuracy.Accurate data implies high quality data which supports informed decision making leading to growth.
Increased Data Usability. Formatted data can be used throughout an organization for carrying out various data-driven tasks.
Reliable Data Analytics Results.Clean data helps in gaining clear insights which provide more reliable analytical results.
Improved Compliance. Costly fines and legal issues can be avoided by using clean data.
Better Data Storage. By eliminating unnecessary and duplicate data, data cleaning can reduce storage costs on cloud data warehouses or traditional on premise solutions.
Increased Productivity.By using clean data, workflows can be streamlined and strategic initiatives can be taken.
Steps to Perform Data Cleaning
Make a copy of the dataset.
Remove irrelevant data which involves scrutinizing data entries for duplicate records, and data points that do not contribute to meaningful analysis. This step streamlines the dataset, reduces noise in the dataset and improves the overall quality.
Remove duplicate data to help reduce the size of the dataset and speed up computation.
Handle missing values in order to arrive at non-biased insights.
Remove discrepancies in data formats, naming conventions, or variable types to enhance data consistency and facilitate accurate analysis and interpretations.
How to Perform Data Cleaning Using Microsoft Excel
Data cleaning needs to be performed systematically in order to get rid of inaccuracies and inconsistencies.
1. The first step involves reading and reviewing the data and create a duplicate copy of the data to work on.

2. Autofit rows and columns to make the data readable. For this, select top corner of the excel sheet to select all of the columns and rows.

Move the mouse between the column labels till the double headed arrow appears then double click. Repeat for the rows. Excel automatically adjusts the width and height so the cramped or cut data can appear clearly and is not overlooked. Our data now appears like this.

3. Identify and Remove Duplicate data for data integrity. We can quickly identify duplicate data in columns using Conditional Formatting. On the Home tab: Conditional Formatting > Highlight Cells Rules > Duplicate Values.
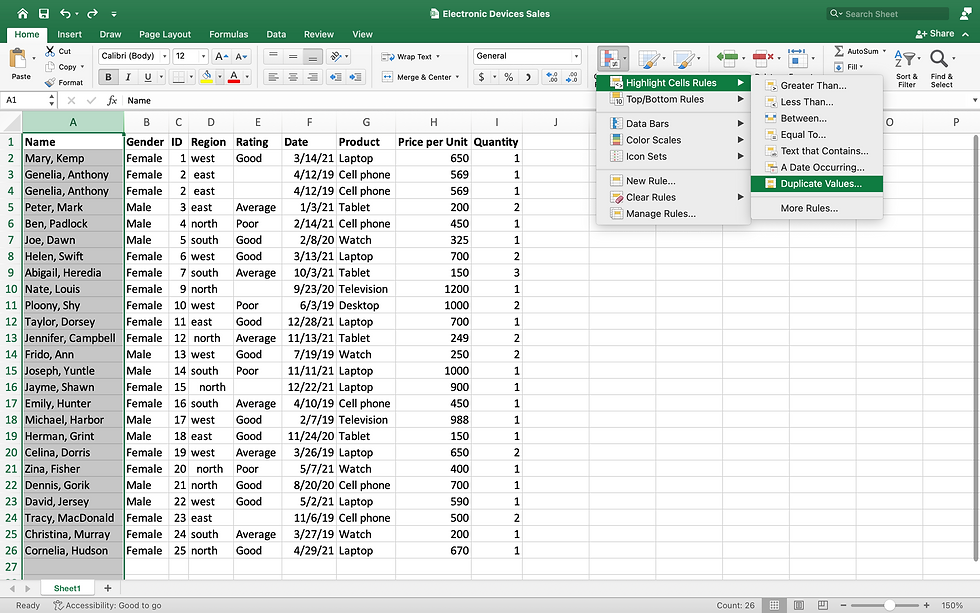
We can choose from the given options or create custom format for highlighting the duplicate data.

Click OK and we can see the rows which have duplicate values.

To remove the duplicates, go to the Data tab > Remove Duplicates.

Here we will be asked if we want to expand our selection or continue with our current selection. By clicking on current selection, the duplicate data in the names column gets deleted.

4. Remove extra spaces by using the TRIM function.
Go to cell K2, and type =TRIM followed by the first cell of the column we want to remove the extra spaces from. In this case, it is cell D2.

Hit Enter and Drag the cells down to get the trimmed values of the rest of the cells of that column.

Copy the cells K2 through K25, go to cell D2, Paste> Paste Special and select Values and OK. Or keyboard shorcut CTRL+SHIFT+V.

We get the trimmed data.

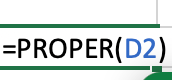
5. Capitalize the first letter of each word by using PROPER function in the similar manner as the TRIM function.
6. Eliminate Blank Cells
Select the column which has blank spaces. Go to the Home Tab > Find and Select > Go To Special. Or use the keyboard shortcut CTRL+G. Select Blank and Ok.


We can see that the blank cells are selected. Since we do not know what the ratings are, we will enter NA and press CTRL+ENTER.


7. Data Validation
We can prevent spelling errors and typos by having dropdown lists. We will select the Ratings column and then on the Data tab of the ribbon, select Data Validation.

Allow a list and specify the range to be selected. We do not have the range, so we will type the list and click OK.


Now if you try to select something which is not on the list, you will get an error. This will avoid tidying up the data later on.

8. Give borders to the table and format the headings. Select the data and go to Insert tab > Table > Create Table where you enter the range of data for the table.

Go to Borders and Select All Borders.

9. Perform Data Parsing
In the Name column, we have a comma between the first name and last name. Let us now remove the comma.
Insert an empty column next to the Names column.
Select the Names column, then Data tab > Text to Columns

Choose the "Delimited" option.

Check the box next to Comma in the Delimiters and the box next to Treat consecutive delimiters as one.

Select the General column data format.

You will get the first name and the last name split into two seperate columns. You can rename the columns as First Name and Last Name.

If we want to have the first name and last name in the same column, we can use the Find and Replace function.
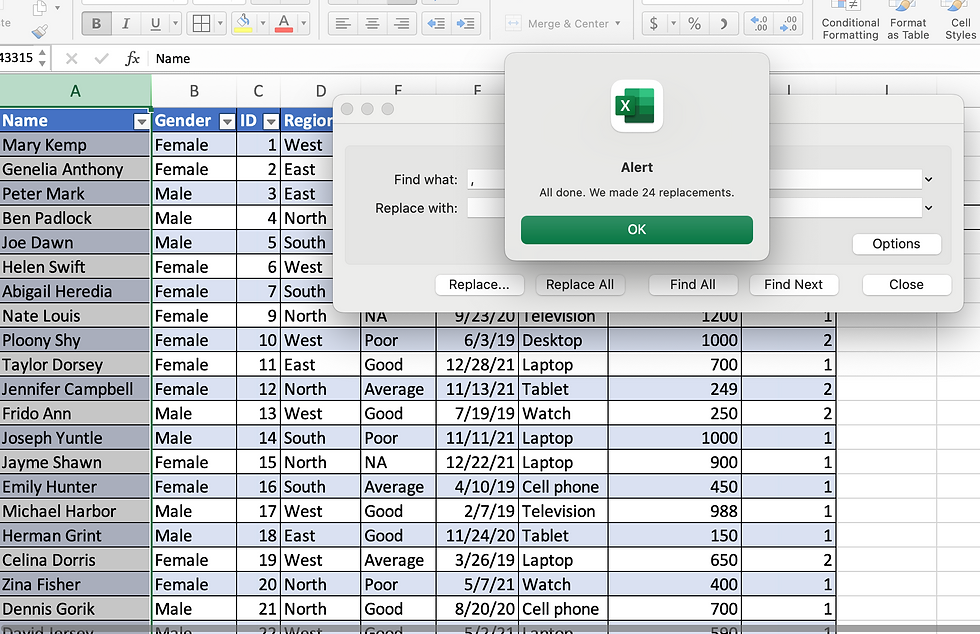
Select the Names column, then Home tab > Find and Select > Replace

Enter "," in the Find what and leave the Replace with blank. Select Replace All.

We see that the comma between the first name and last name is removed.
10. Format the Date . Select the Date column. In the Home tab, select More Number Formats from the drop-down list.
References: